Commercially produced jelly is an incredibly cheap and simple food that is readily available at any supermarket. So, you might question why I would suggest that everyone make their own. It is because store bought jelly is…crap. There really is no better descriptor than “crap”. Store bought jelly typically includes artificial coloring, high fructose corn syrup, and traces of pesticides. Instead of filling PB&J sandwiches with fruity corn syrup goo, we should fill them with sweet pure goodness (fruit juice, sugar, and pectin).
Quality of ingredients is just one of many reasons to start making up your own jelly.
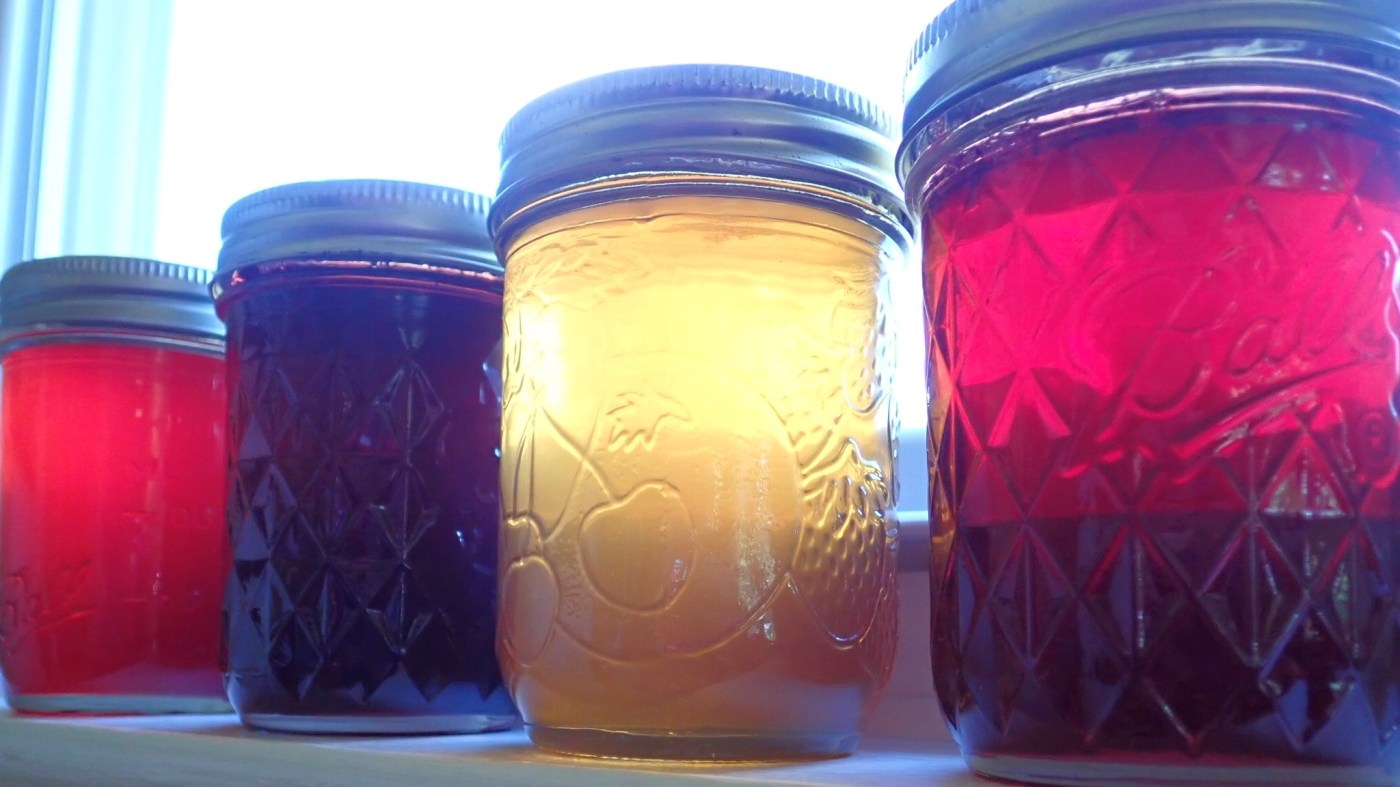
Delicious homemade jelly is so much more than a simple condiment. It is a reason to bake biscuits, a perfect gift, a category in the county fair, a toast transformation, a bit of old-fashioned love, and a sandwich filler suitable for the most discerning 5-year-olds.
Having the knowledge and skills to make beautiful jelly could earn you respect, love, and adoration from all. Your friends and family will think that you are amazingly talented. There is really no need to let them know that jellying is easy as pie. Actually, it is far easier than pie, and requires far less skills.
Some of our canning projects require a great deal of time and effort, like slow cooked jams and 5 day preserves. Jelly requires a fraction of all that time and work.
The simplicity of jelly is due to pectin. Pectin cooked with fruit juice (sometimes including lemon juice) and sugar causes the gelling of jelly to occur. It can be sourced from high pectin fruits such as crab apples. But, I don’t have time to go through that much trouble. I just buy boxed powdered pectin that I know I can trust. The convenience it offers is well worth $3.00 cost per batch.
The Total Cost
The cost of jelly making varies greatly and is largely determined by the resourcefulness of the maker. If you search the internet to find the costs, you will find estimates that run up to $6.00 per pint. The highest expense in these estimates is the cost of fruit. In our kitchen we are big fans of using free fruit, and you should be too. I will explain how you can score free fruit just about anywhere. But first, let’s breakdown the cost of each pint of homemade jelly.
0.89 Pint sized jar with lid (the jars are re-usable) I usually can jelly in half-pints, but we are pricing per pint here.
0.60 Sugar (huge over estimate and enough to cover the cost of some organic sugar)
0.40 Pectin
0.00 Fruit
0.10 costs of fuel, electricity and water
$1.99 Grand total per pint


Free Fruit
To make low cost quality jelly you should try to score free fruit that is in season. You can often find apples, plums, or pears growing in public spaces. I have picked crab apples for jelly from the median of a boulevard in downtown Birmingham. Roadside right-of-way fruit is free fruit! Just be cautious when picking roadside to avoid picking in areas that could have been sprayed with chemicals.
Look for fruit growing In neighbor’s yards or local commercial landscapes and get to know those property owners. Many times they are happy to have the fruit picked because it keeps them from having to deal with eventual rotten fruit falling on the ground. You can always offer to bring them a jar of jelly when you are finished.
Learn how to forage for wild fruit in your region. If you are in the Pacific Northwest you should be able to pick all the Himalayan blackberries you could possibly need to stock your pantry with a year’s supply of jelly. In the Southeastern US you can pop into the woods during summertime to pick wild mulberries, plums, paw-paws, and muscadines. Elderberry, which makes the most delicious jelly of all, grows wild in most of the continental US and throughout Europe. If you spend much time hiking you probably walk past plenty of free potential jelly ingredients. So, always carry a picking basket just in case.
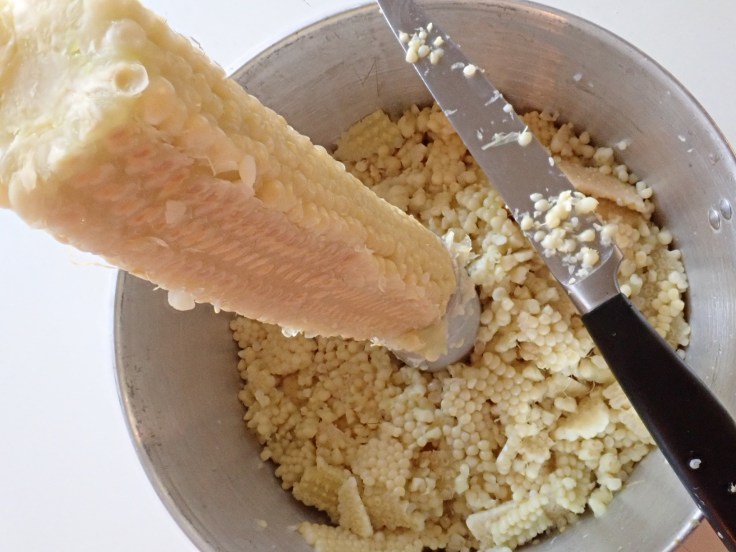
If you can’t find fruit, there are plenty of other things you can make jelly out of: rose hips, honeysuckle, kudzu flowers, mint, peppers, even corn cobs!
 Unless it is the middle of Winter, you should be able to find something tasty to juice for jelly. If all else fails or you find yourself wanting to make jelly mid-Winter, you can always use store bought fruit juice. But picking the fruit yourself makes it so much more rewarding.
The Method
Buy name brand boxed powdered pectin (sure jell) and follow the “cooked jelly” recipe for the type of jelly you are making. Most of the time it is really this simple!
- Cook fruit and drain juice
- Add water or apple juice to reach specified measurement
- Add Pectin to juice and bring to a full rolling boil
- Add specified amount of sugar
- Bring back to boil and boil for one minute
- Fill jars
- Process jars in water bath canner
The instructions are pretty easy to follow. But, there are a few tips and tricks to make the job easier.
Jellying Tips
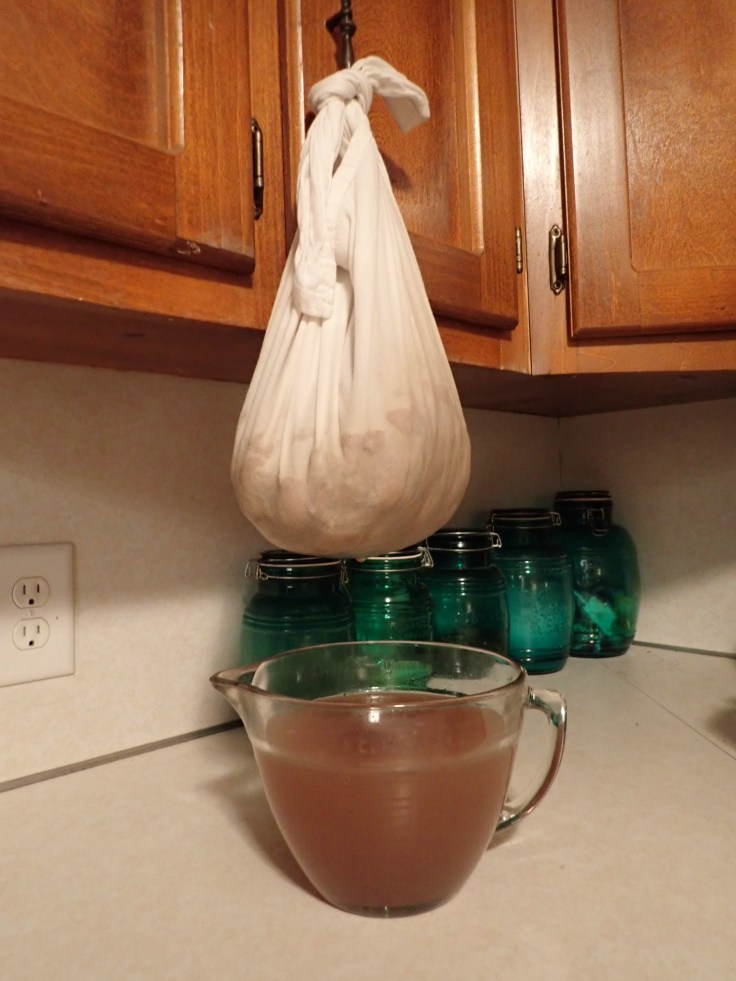
- Use large flour sack towels to strain the fruit juice. Jelly bags and cheese cloth are more expensive and not as fine. We tie our flour sack bundled fruit pulp and hang it from our top kitchen cabinets to drain.
- Cook the jelly in a large heavy bottomed pot. It will expand with foam while cooking. If your pot is too small you will have a sticky mess to clean.
- You do not need special equipment for processing jars of jelly. For information on using a water bath canner click here.
- pH matters. Adding lemon juice can not only improve the flavor of some jelly, but can help the jelly to set. Lime juice can be added to enhance the flavors of most berries, but it is not a substitute for lemon juice.
- If you are experimenting with fruits not listed in the pectin instructions, source reliable recipes and when in doubt go with more sugar and an added 2 teaspoons of lemon juice.
- “Low Sugar” Pectin is just a bit stronger than regular pectin and can actually work better when processing fruits that are low in natural pectin (elderberries, apricots, cherries, strawberries and guava).
- Some fruit will cause foam to rise more than others in the cooking process. Just keep stirring and make sure that foam doesn’t overflow. When the jelly is cooked and the foam has settled, remove the foam/scum from the top of the pot with a silicone spatula before filling your jars.
- Some jelly takes a while to set. If your jelly looks like syrup after a few days, just put it in the pantry and check again in a few weeks. If it is still not set, call it syrup and enjoy amazing gourmet pancakes with fruit syrup. There are a million and one suggestions out there about how to “save” a jelly that doesn’t set. I’ve tried most with minimal (zero) success.
- Don’t forget to enter that fine looking jelly in your local county or state fair!

Leave a comment